
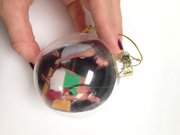
Tip: Gently roll your photo one direction, then flatten it and roll it the opposite direction right before slipping it in. This helps it unroll inside the ornament. Photo by Kathleen M. Mitchell.
Every year since I was born, I've received an ornament for Christmas. Usually it signified something that happened that year—beach glass from a trip to Seaside, Ore., a volleyball the year my middle school team went undefeated, a Millsaps College ornament from the year I started college, a hand-carved shamrock from studying abroad in Ireland, and so forth. My mother (who is adorably OCD) even wrote up a spreadsheet with which ornament correlated with which year, and we would refer back to it as we lovingly unpacked the box and decorated our tree each year.
So, to me, ornaments aren't just pretty, colorful decorations to make your tree festive. They should also tell the story of your life, of the things, people and places that mean something to you. I love to buy ornaments on trips and for special occasions, but I also love making ornaments for myself and others.
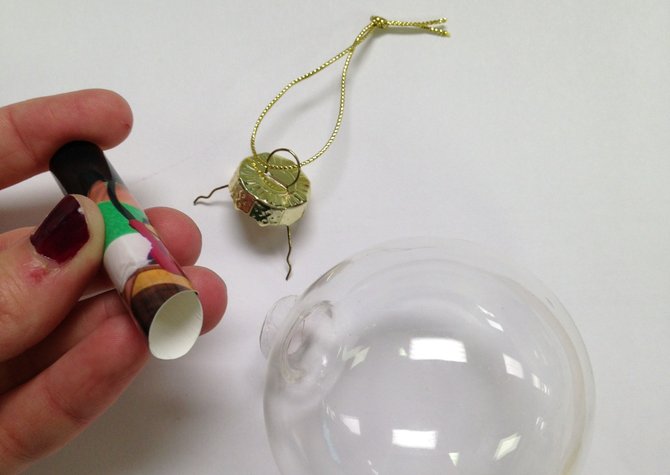
These ornaments are so easy. Just cut your photo into a circle—the size depends on your ornament. I want it to fit in easily but fill the sphere, the edges just barely touching the sides. Carefully roll it up into a tube (be sure not to bend or crease it) and slip it into the ornament. Use your tweezers to open it up inside the glass, straightening it out until it fits properly.
You can leave the ornament very simple, with just the photo, or you can embellish it. Try writing on the outside with glass paint, or decorating with ribbon. I also like to put in bits and pieces that go with the photo—for example, sand and tiny shells for a family beach photo.
Materials needed:
Clear glass ornaments with removable tops
Photos
Scissors
Tweezers
Bits & pieces of your choosing
More stories by this author
Support our reporting -- Follow the MFP.

Comments
Use the comment form below to begin a discussion about this content.
comments powered by Disqus