Photo by Courtesy Amber Helsel
I have Champagne taste on a beer budget.
At least, that's what my dad always says. It translates to a need for me to have nice things in my house—nice things, not expensive ones. When I lived in my apartment in Oxford, Miss., I had a few plastic cups (mostly plastic margarita glasses), but I also had an eight-count set of tumblers, glasses, what have you. That was my go-to for when I had company because, to me, you can't be a hostess without the proper tools. I kept them in a special cabinet, and even now, living with my parents, I keep them on display in a glass cabinet.
The prospect of a new place to live is always on my mind, but it'll be a while before my beer budget can afford it. Meanwhile, I love looking at fun DIYs to make my future house a home. And because I spend a lot of my time in the kitchen (mostly eating), I especially love kitchen projects.
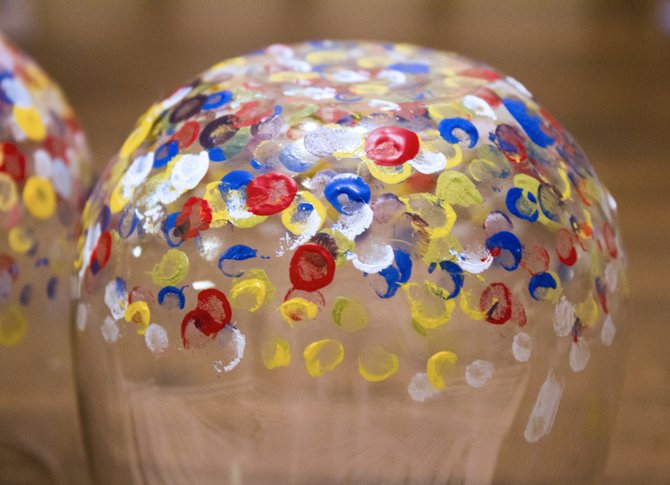
The other day, I found one on savvysugar.com that piqued my interest—making confetti tumblers. I loved it because not only would it provide me with new dishes, but it would also ignite my artistic side that hasn't come out much since high school.
This is an easy project, although a lengthy one, but it was relaxing to listen to The Lumineers while dotting glasses. I mostly just painted, ignoring the instructions to wait until the first layer dried. My four glasses were each pretty unique—there was a primary color glass (my favorite color scheme), a random color one, a green one, and one that ended up looking similar to Van "Starry Night."
I can't keep these because I just don't have the space, so I'm giving them to someone else. When my beer budget can finally afford an apartment, I'll revisit this idea for a quirky way to make a house a home.
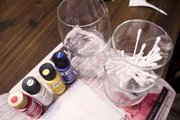
Materials
• Enamel acrylic paints in whatever colors you'd like—I used red, white, yellow and blue
• Stemless wineglass tumblers
• Paper towels
• Newspaper
• Cotton swabs
• Parchment paper
• Baking sheet
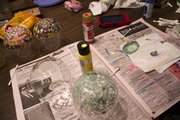
Step 1 Lay out your station. I recommend putting a newspaper down. Squirt some of each paint onto a folded paper towel or paper plate. Play with mixing the colors.
Step 2 Starting at the base, dot the first layer using whatever color scheme you want. While one glass is drying, start the first layer on another.
Step 3 After finishing the first layer of dots on all the glasses, go back and add a second layer. Repeat until you like the amount of paint on each glass. Let the glasses dry for 30 minutes.
Step 4 Place glasses upside-down on a parchment-lined baking sheet. Put the sheet into a cold oven and heat it to 350 degrees Fahrenheit. Let the glasses bake for 30 minutes as the oven heats up.
Step 5 Turn the oven off and let the glasses cool in the oven for another hour.
Support our reporting -- Follow the MFP.